

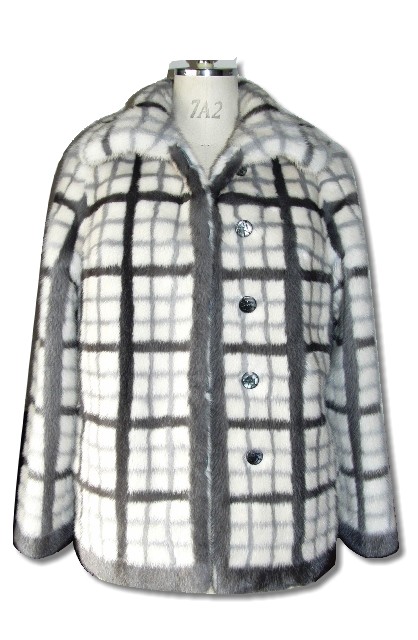
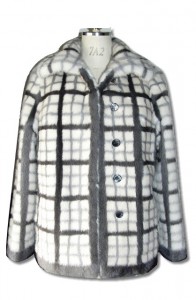
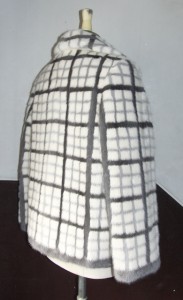
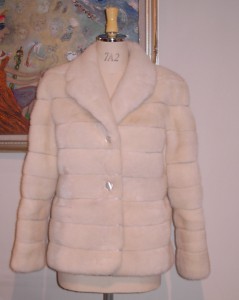
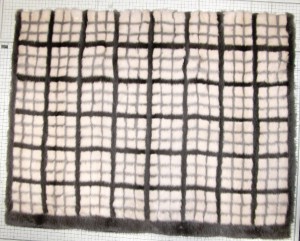
パールミンクに0.5cm幅サファイアテープを1.5cm幅ブルーアイリステープを
タータンチェック風に入れました。
まったく新しいタイプのリメイクです。
出来上がり1.06Kgでした。

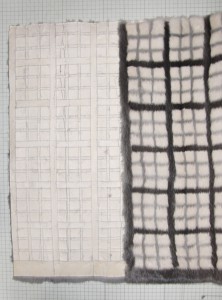
オリジナルは2度目のリメイクです。
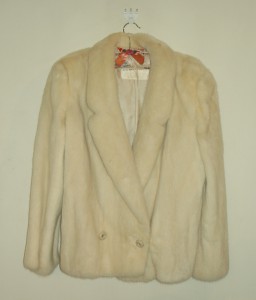 最初のリメイクは横使いに
 これをさらに、チェック柄にリメイク
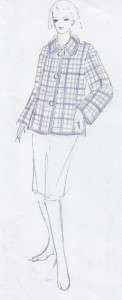
参考デザインとデザイン画

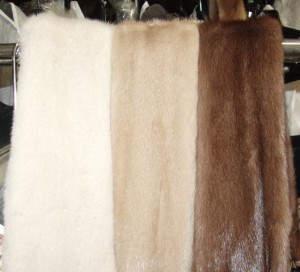
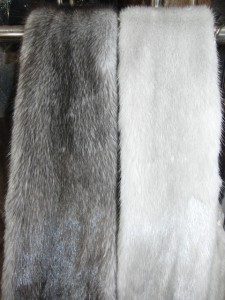
パール*パステル*デミバフかパール*サファイア*ブルーアイリス
不足面積を計算すると約6枚となりました。
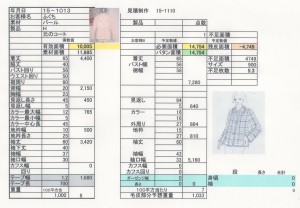
サファイアM0:2枚、ブルーアイリスM0:4枚
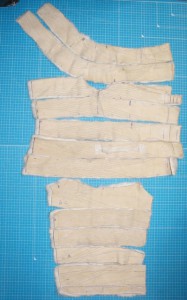
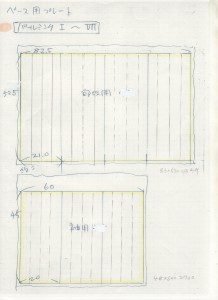
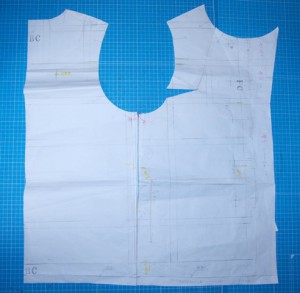
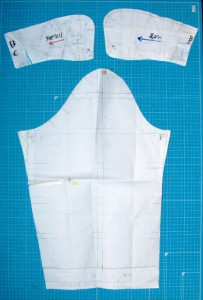
分解して、(1)パルミンクのベースプレートの身頃用、袖用を作ります。
(2)0.5cm幅サファイア横テープを入れます。
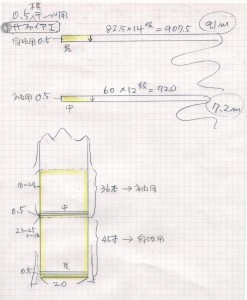
(3)0.5cm幅サファイア縦テープを入れます。

(4)1.5cm幅ブルーアイリス横テープを入れます。
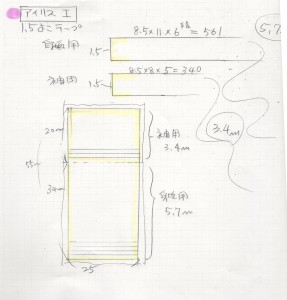
(5)1.5cm幅ブルーアイリス縦テープを入れます。

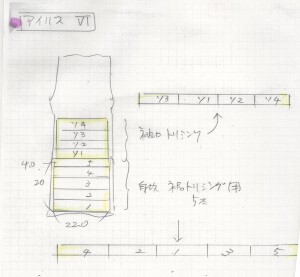
トリミング用(前立て、裾、袖口)
モチーフ
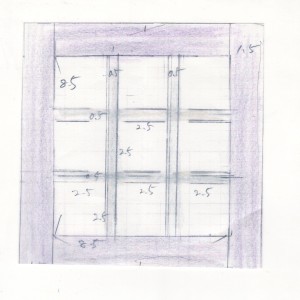 出来上がり身頃プレート
型入れ用パタン
Further Attention
このリメイクは、今回初めて挑戦しました。毛合わせ、モチーフが崩れないパタンなど工夫が必要です。
ベースのパールミンクプレートは寸法どおりにカットして、
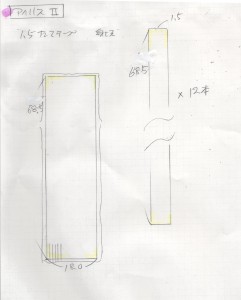
縫い代分はテープのサファイアやブルーアイリスを、 0.5を0.7に、1.5を1.7cm幅にカットしました。
袖山の横線を身頃と合わせるために、袖山を18cmくらいに(通常は16cmくらい)して、
袖山線が垂直線に近くなるようにすると合わせやすくなります。