

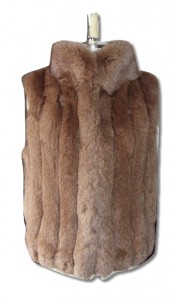
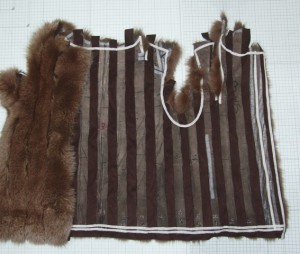
中に入っていたレザーテープ(ピッグスエード)が硬かったので入れ替えました。
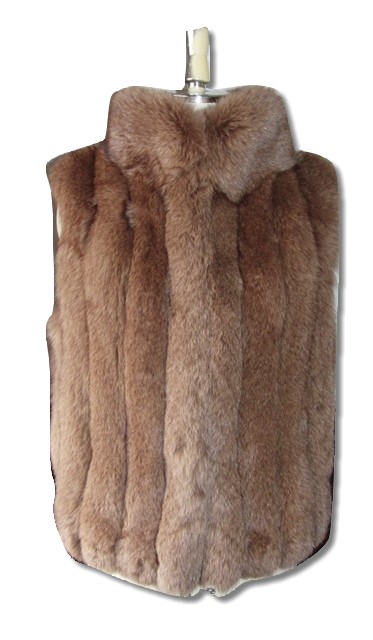
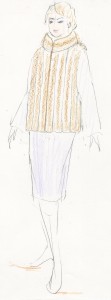
オフネックのスタンドカラー
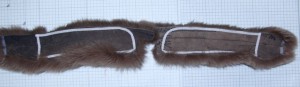
 カラーにワイヤー
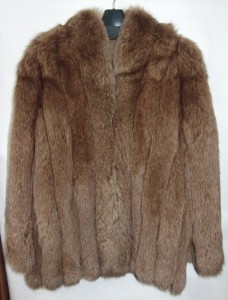
オリジナルとデザイン画
テープを抜いて新たに人工スエードのストレッチテープに

2.5cm幅テープを入れます。
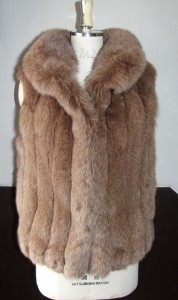
カラーはもと袖中心
Further Attention
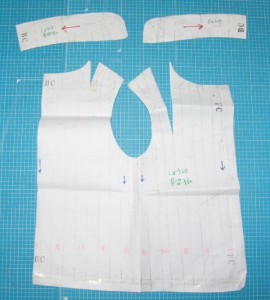
一般にフォックスは毛足が長いので、袖つけ線を実際の肩幅より2cmほどなかに入れて袖を作る。
この方が肩幅が広く見えすぎることがない。
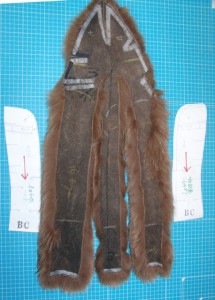
この袖山も2cm以上中に入った袖でした。
ベストにした場合、身頃の肩幅が不足することになります。
この部分を、身頃に移しておく必要があります。